World of Level Design™
Tutorials to Becoming the Best Level Designer and Game Environment Artist (since 2008)
UE4: How to Make Modular Pipes Work in "The Corridor Project"
Category: Environment Art, UE4
March 31, 2019

"The Corridor Project" was lit two different ways.
One scene was set at daytime and second scene was set at night time.

I always thought the scenes lacked pipes. So I decided to revisit "The Corridor Project" and add modular pipes into it.
Here is how to make modular pipes assets work within completed Corridor scenes.
Video Tutorial
First Tutorial
In the first tutorial I used two different asset sets together within one scene and construct something interesting. Watch the tutorial here: UE4 Putting Together a Quick Scene Using Modular Pipes & Corridor Assets.

Copy/Paste Sky Sphere
After bringing over the Corridor levels and assets into new version of UE4, I noticed the Sky Sphere was missing.
No problem.
I opened up the Default Level and copied over the Sky Sphere from it. Then opened up the Corridor scene again and pasted in the Sky Sphere.
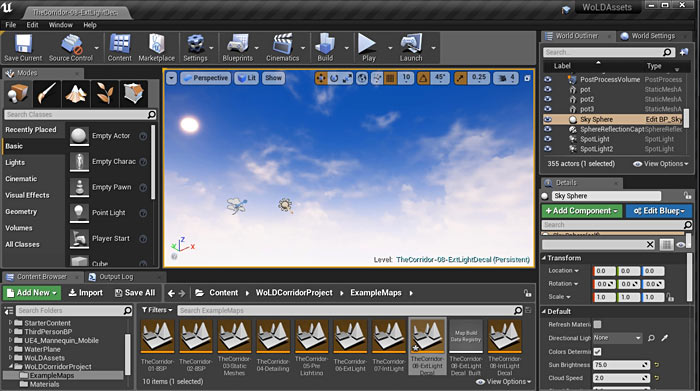
Adjust Auto-Exposure
As I work on the scene, I don't want to see brightness being automatically adjusted. I need consistent lighting without changes.
I selected the Post-Process Volume and adjusted the Min/Max Brightness to .2:

I will change it back to what I had in the original scene after I am done.
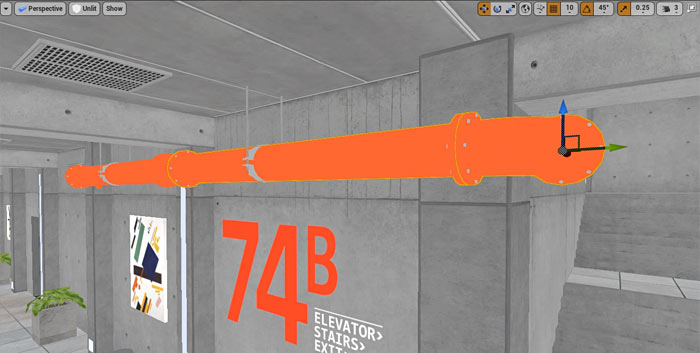
Copy and Paste Grouped Pipes
In the previous tutorial we created a scene that already contains a set of configured pipes.
I don't want to recreate the pipe networks again. So to speed things up I reopened that scene, then copy/paste them into the daytime Corridor scene. I positioned the pipes above the corridor so I can begin to use them. Whatever pipes I don't use, I will end up deleting them.

This eliminates on having to repeat the work I've already done.
Ungrouping Static Meshes
I need to ungroup all the copied pipes. Select the set and press Shift + G to ungroup.
- Ctrl + G = Group Selected Actors
- Shift + G = Ungroup Selected Actors
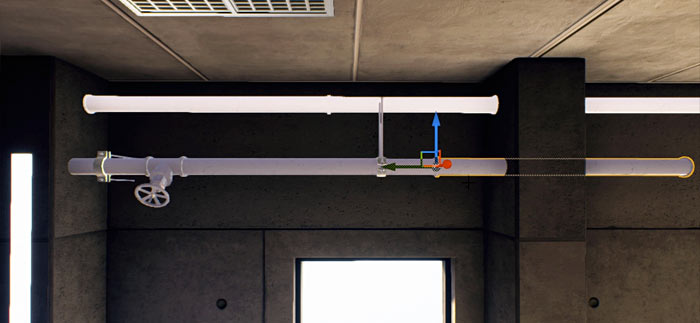
Making Pipes Work in an Existing Environment
The key to making pipes work in an environment that was not intended to have them is selectibility.
Deliberate placement of pipes into areas that emphasize the scene and compliment it. Not clutter it.
Focus on simplicity - less is more principle.

Viewport Modes Lit/Unlit
Placing assets into an already lit scene can be difficult, especially in darker areas. Use the following two shortcuts to change viewport modes.
- Alt + 3 = Unlit
- Alt + 4 = Lit
Environment Purpose
Placing any type of assets into an environment must be guided by a bigger purpose.
One of them is this: are you creating a stand-alone environment or a playable level?
Stand-alone environment is a non-playable static scene, which may include a fly-through video. The results will be used in a portfolio or to showcase to others. The camera angle you choose will be locked into a specific composition and anything outside the camera view doesn't have to be created. It is like a movie set. You will insert and place assets that complement the chosen camera angle and anything outside its view doesn't exist.
A playable level is where a player will spawn and play within your environment. For playable levels you have to create an illusion of a fully living, breathing world that exists outside the playable space. Everything within this environment has to look like the world extends beyond the immediate playable area. So this no longer becomes about a few static shots, but a complete scene. You have to take the entire level into consideration and all possible views the player will see from.
Knowing for which you are designing will help to determine where to place your assets and how much time you will spend on it.
Is It Ok to Have Static Meshes Intersect Other Meshes?
Quick answer, YES.
For small pipes I decided to intersect them through the columns near the ceiling.
Even though this isn't very accurate and won't have the pipe cap align with each column as it would in real-life. It does save a lot of time having to scale and align each pipe.
The player is unlikely to see up close to the ceiling or care that much that that the pipes don't have pipe caps on each side. Especially since this is a stand-alone game environment and not a playable level.
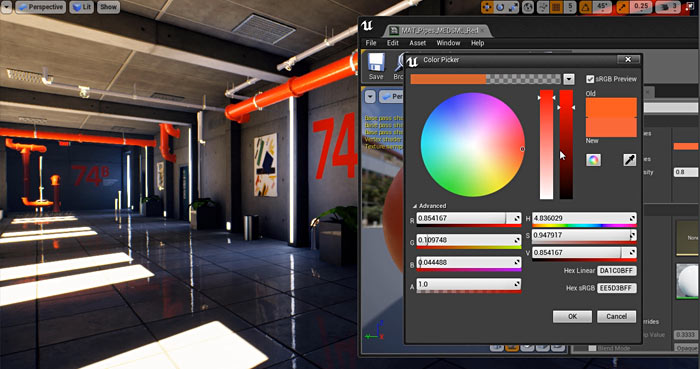
Adjusting the Color
I adjusted the color of the pipes to match the overall color of the scene.
Building Lighting
After all the pipes have been positioned and adjusted, I rebuilt lighting on Production.
Auto-Exposure Setting
I changed back Auto-Exposure settings that I previously had.
- Min Brightness: .01
- Max Brightness: 2

Final Scenes
Here are final screenshots of the completed scene.
Get "Modular Pipes Project" and "The Corridor Project"
Both, "Modular Pipes Project" and "The Corridor Project" are available right now as tutorials and all the project files you saw in this tutorial come with it. Download them now, learn and create...


SUBSCRIBE & GET FREE UE5 PDF GUIDE
Subscribe to receive NEW/UPDATED and FREE "UE5 Beginner's Quick Start Guide" PDF (90 pages).

Visit this page for more info about the guide...
TOP 5 TUTORIALS TO LEARN UE5
 UE5: How to Download and Install Unreal Engine 5 in 5 Minutes
 UE5: 11 Principles to Learning and Using UE5 as a Complete Beginner
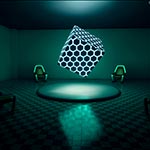 UE5: Crash Course Quick-Start Guide to Begin Using UE5 - TODAY
 UE5: Complete Guide to Player Scale, Dimensions and Proportions
 UE5: Fundamentals Vol.1 - Essential Beginner's Guide to Getting Started
TUTORIAL CATEGORIES
UE5 FUNDAMENTALS VOL.1 COURSE

UE5: RETRO OFFICE PROJECT

LEARN THE PREPRODUCTION PROCESS

ABOUT WoLD & ALEXG

My name is AlexG. I am self-taught level designer, game environment artist and the creator of World of Level Design.com. I've learned everything I know from personal experimentation and decades of being around various online communities of fellow environment artist and level designers. On World of Level Design you will find tutorials to make you become the best level designer and game environment artist.
Home Terms of Use/Trademarks/Disclaimers Privacy Policy Donate About Contact
All content on this website is copyrighted ©2008-2024 World of Level Design LLC. All rights reserved.
Duplication and distribution is illegal and strictly prohibited.
World of Level Design LLC is an independent company. World of Level Design website, its tutorials and products are not endorsed, sponsored or approved by any mentioned companies on this website in any way. All content is based on my own personal experimentation, experience and opinion. World of Level Design™ and 11 Day Level Design™ are trademarks of AlexG.
Template powered by w3.css